Natla's Mines - Movable Block Puzzle
This next area involves rearranging several movable blocks in order to access switches and open doors. Refer to the diagram below, as well as the screenshots. The diagram follows the sequence of actions more or less clockwise from upper left.
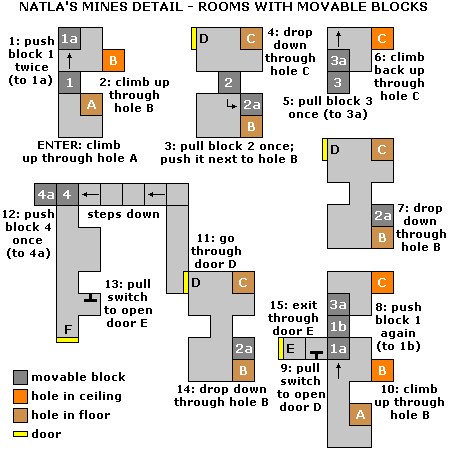
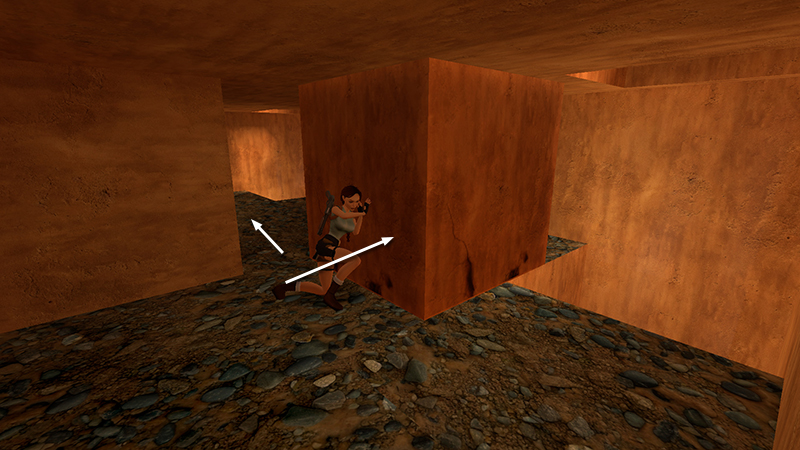
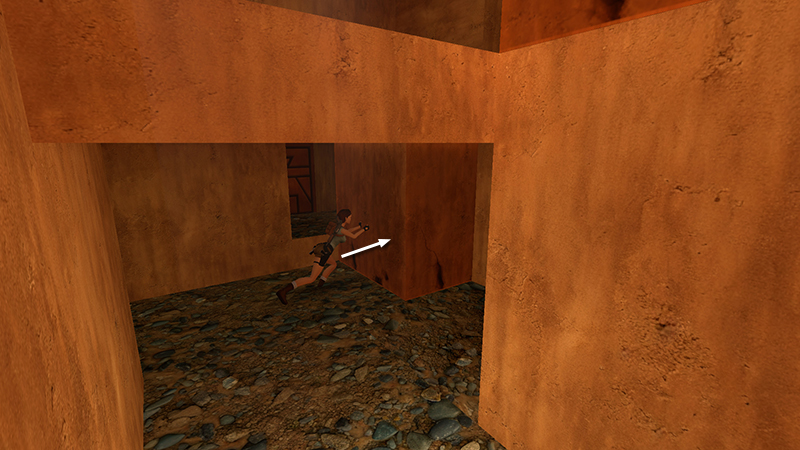
The opening leading down into the TALL ROOM WITH LEDGES is (A) in the diagram. To one side of this opening is a movable block, (1) in the diagram. Push this block twice into the next room (to position 1a).
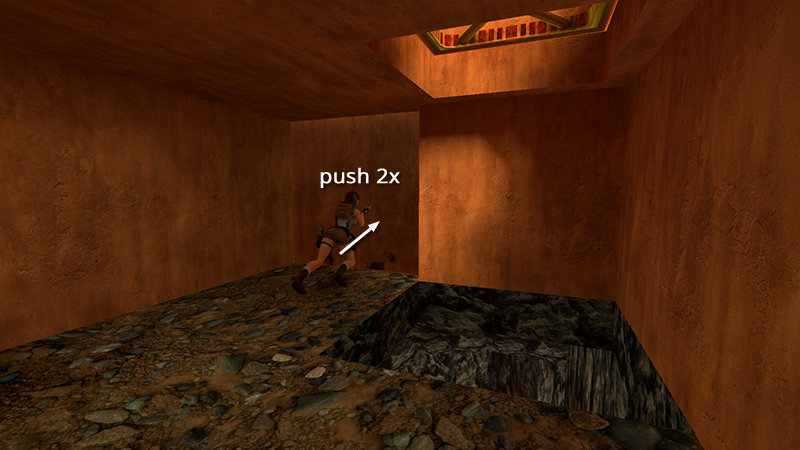
To the right is an opening in the ceiling (B). Climb up through it into the room above.
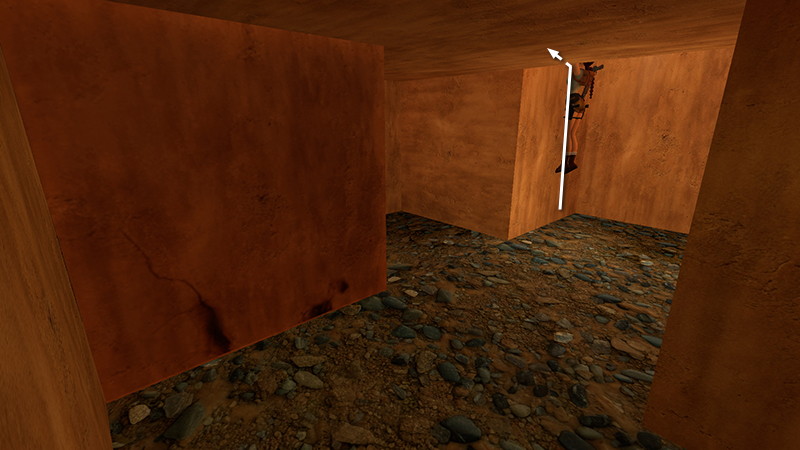
Here you'll find another movable block (2). Pull it once.
Then go around to the left and push it once so it ends up next to the hole in the floor (at position 2a). Go through the opening where the block was.
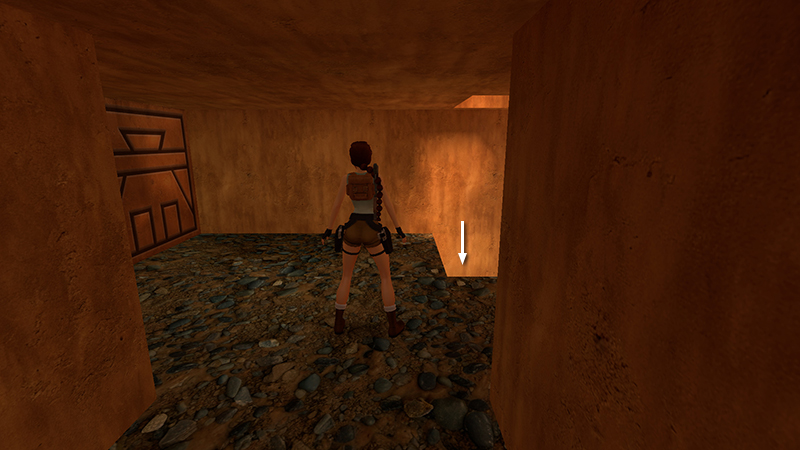
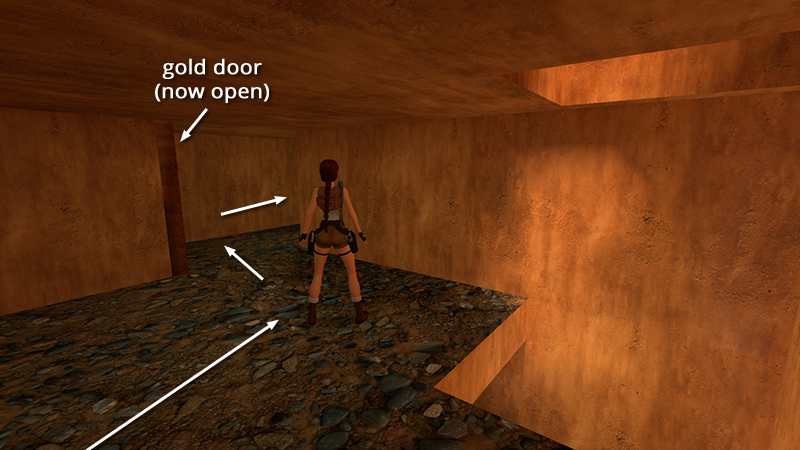
Here is another small room with an opening in the floor (C) and a gold door (D). Drop through the opening in the floor...
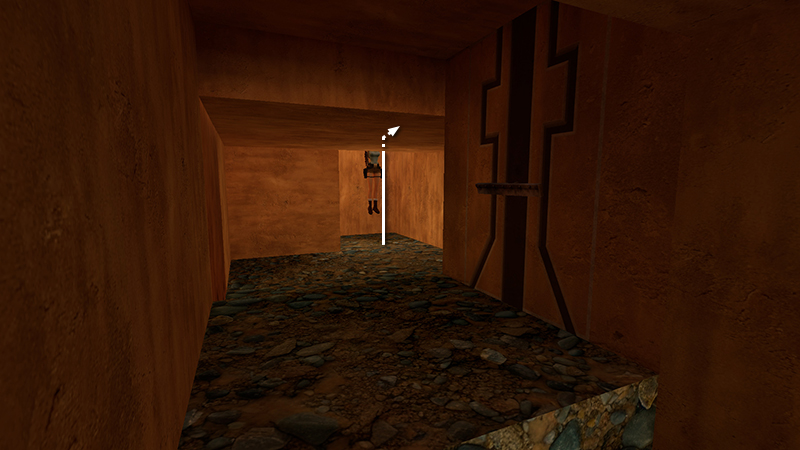
...into a small room with yet another movable block (3). Pull this block once (to position 3a). This will make space for you to rearrange the first block (1a). To return there, climb up through the opening in the ceiling (C)...
...go into the next room, and dropping down through the opening in the floor (B).
Now push that first block once more (to position 1b).
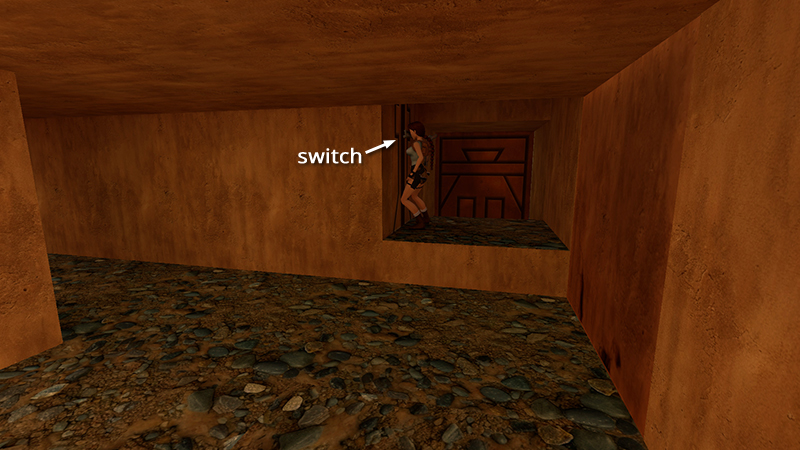
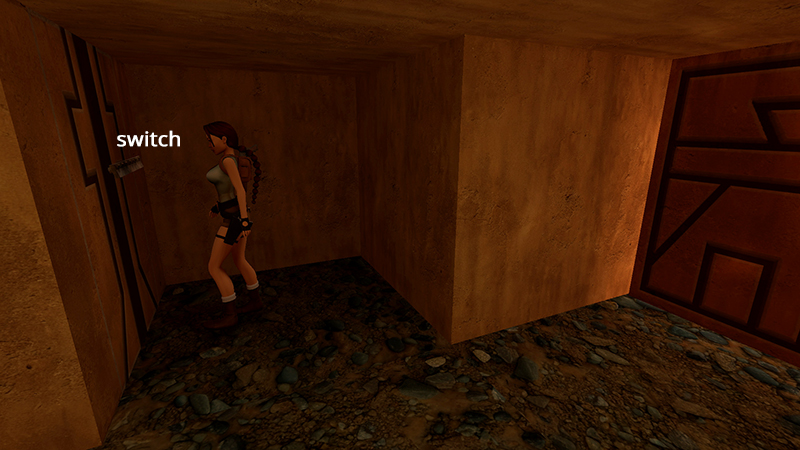
This will open up an alcove on the left with a switch and a gold door (E) beyond. (There's also a save crystal here in NG+, though you may want to wait to use it until you've completed the rest of the block puzzle.) Pull the switch to open the gold door (D) in the room above.
To get back to it, climb through the opening in the ceiling (B)...
...and go through the doorway into the next room. The gold door (D) is on the left.
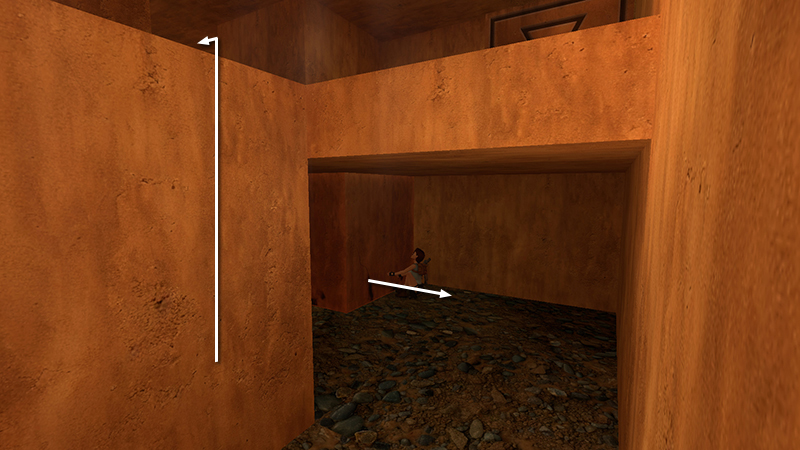
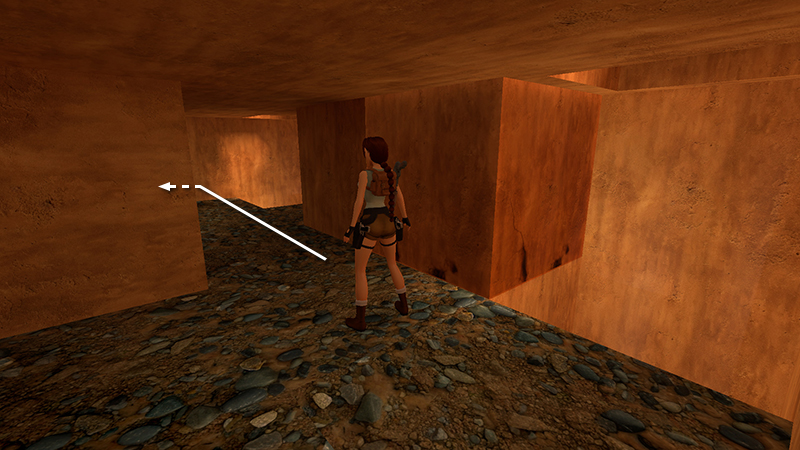
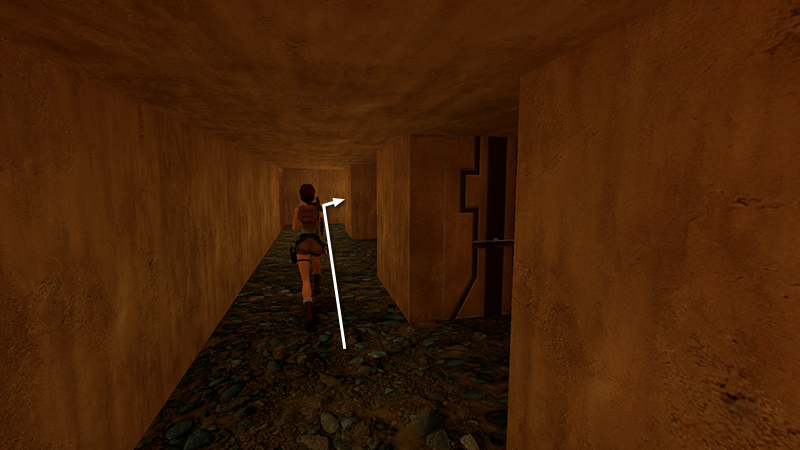
Go through and turn right.
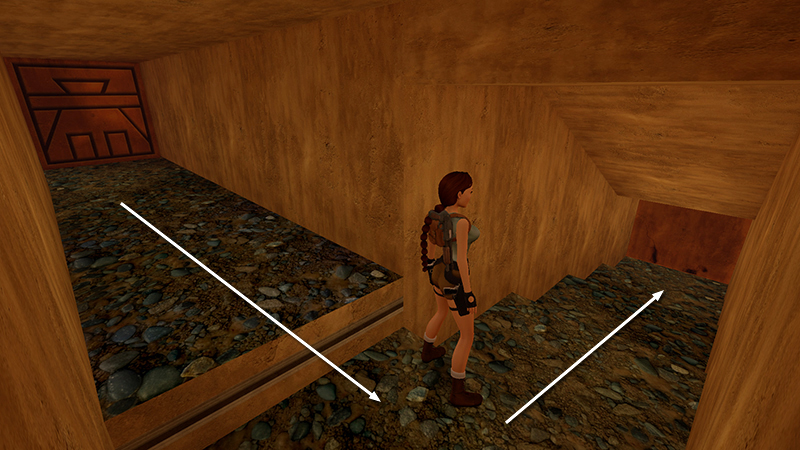
Follow the passage forward, then left, down a short flight of steps to another movable block (4).
Push this block once (to position 4a).
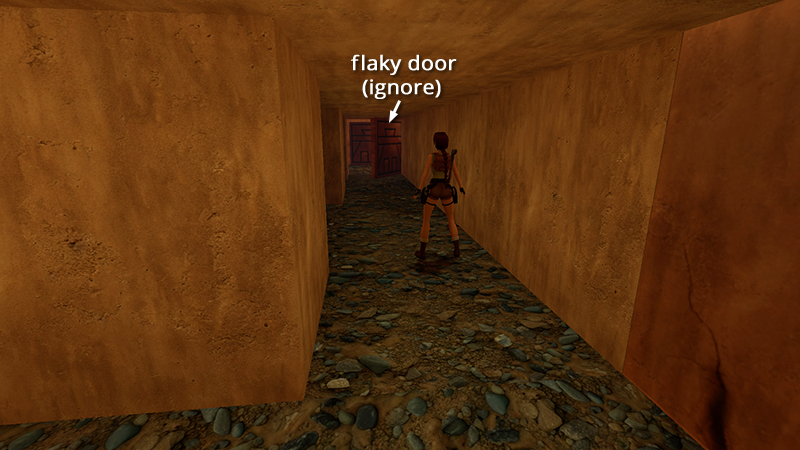
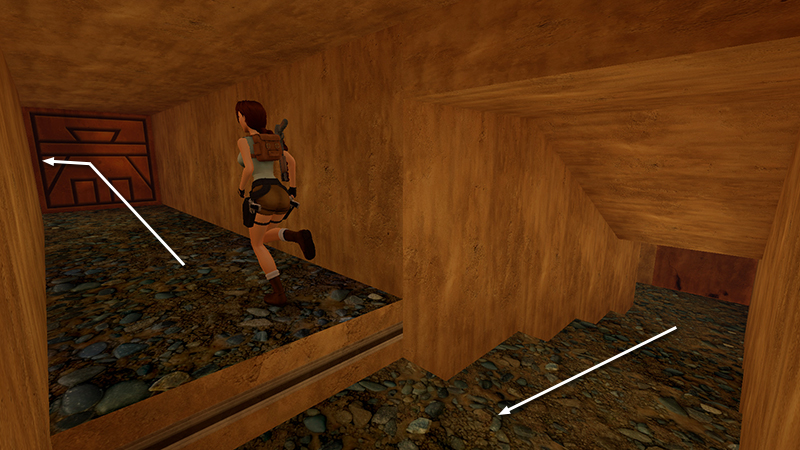
This will give you access to a hallway with alcoves on one side and a gold door (F, for "flaky") at the end. This door opens when you step on a certain spot on the floor and quickly closes. Ignore it, unless you just want to use Photo Mode to scout ahead. We'll take a different route.
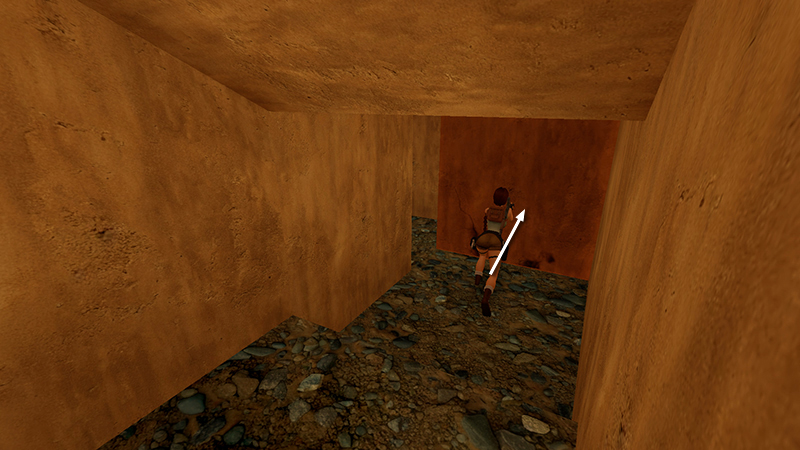
Go to the alcove near that door and use the switch to open the gold door (E) near the first switch.
Return there by following the passage the way you came...
...back up the steps, and through the gold door (D).
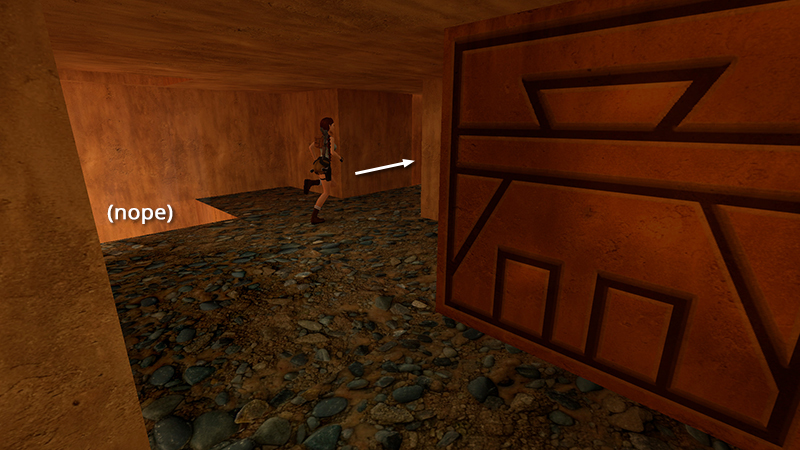
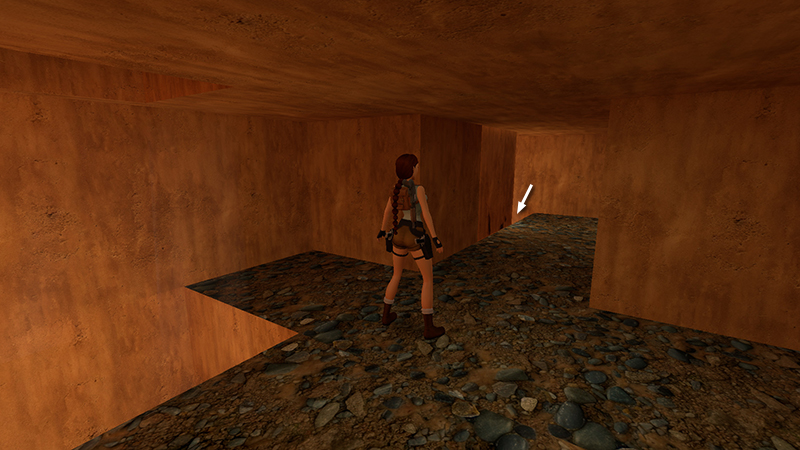
Ignore the hole in the floor just ahead (C). Instead, continue to the right into the next room.
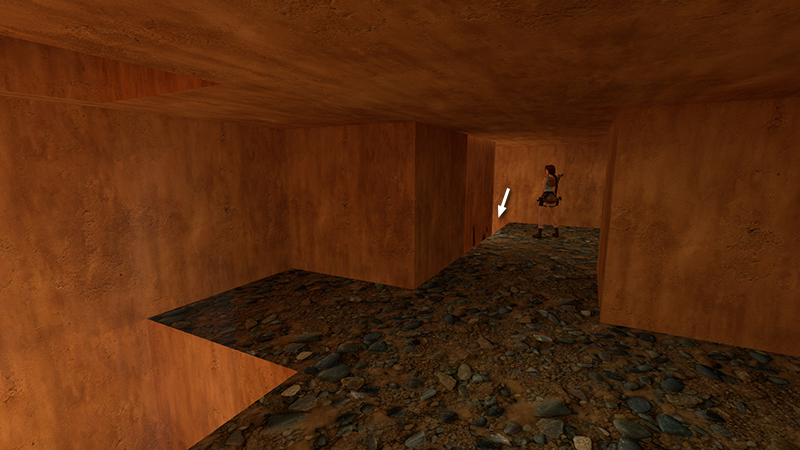
Then drop down through the other hole in the floor (B).

Across from this opening, beyond the switch you used earlier, is the outer door (E) that you just opened.
DARK MODE: I plan to add optional dark mode for these pages, but my current priority is updating the walkthroughs. Meanwhile, may I suggest a reputable dark mode browser extension, such as Dark Reader? (Download only from trusted sites, like darkreader.org or your browser's web store.)
Walkthrough text and diagrams copyright © Stellalune (email ). Feel free to copy or print this walkthrough for personal use. By all means, share it with friends, but please include this credit line so people can send me their feedback. No part of this walkthrough may be reproduced on another site without permission.