The Base - Tracks and Submarine Dock - Secret #2
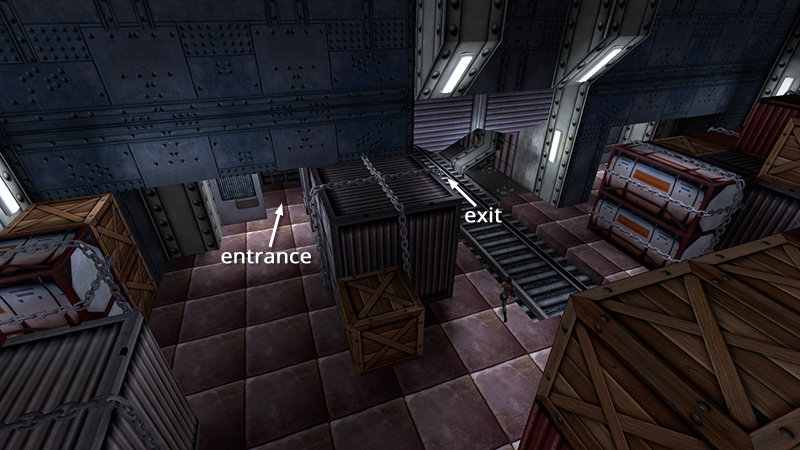
After killing the crane operator and using the claw to break open a hole in the WAREHOUSE wall, as shown in the previous section, drop down, cross the room, and go through the opening you made.
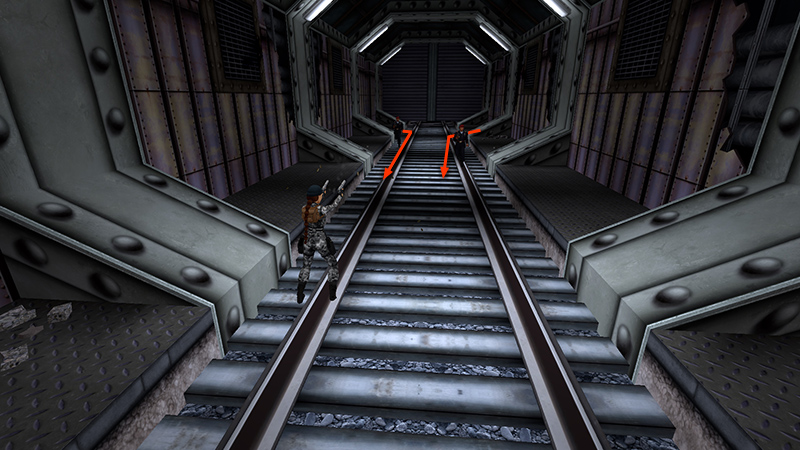
As you advance along the tracks, 2 soldiers (4-5) (20-21/62) emerge at the far end. Take them out.
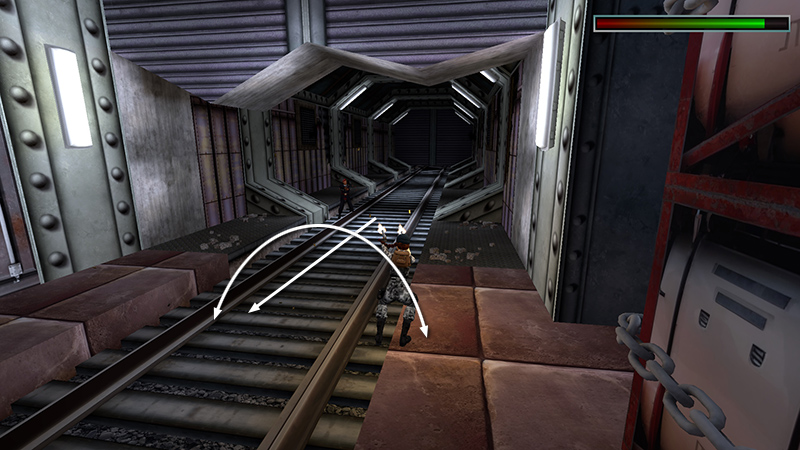
There's plenty of room to retreat and maneuver.

Then continue to the end of the tracks, where a roll-down door blocks the way. Go through the doorway on the left. (The stairs on the right lead to a locked door, and you don't have the key yet.) Follow the hallway outdoors.
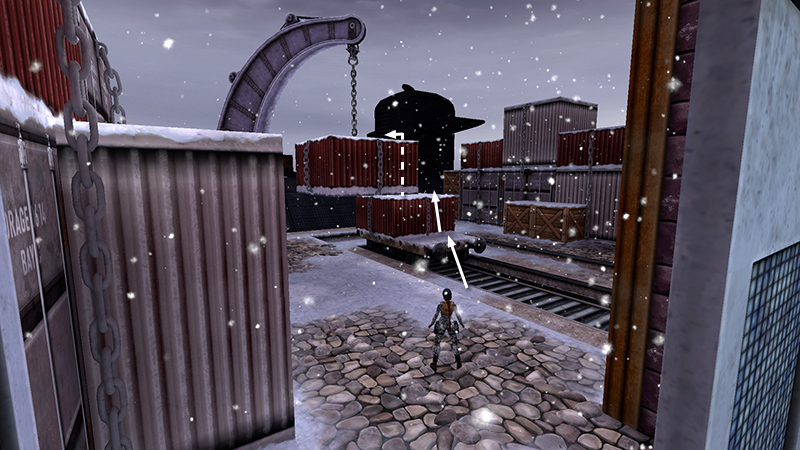
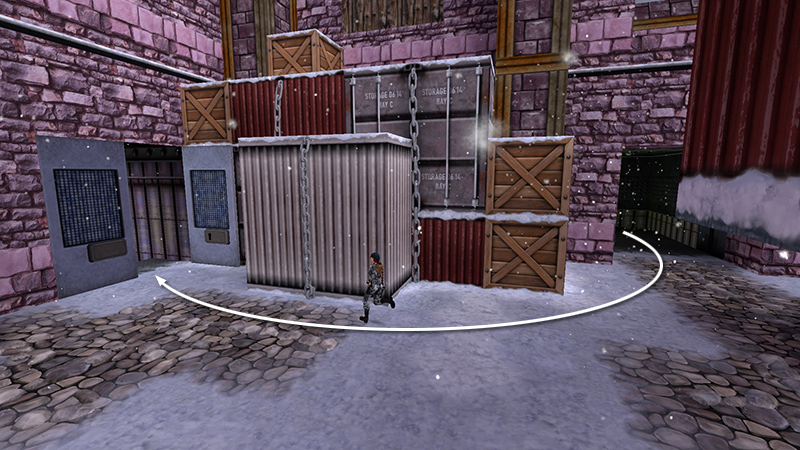
A tall stack of crates separates this side of the dock from the RIGHT SIDE. Climb onto the box on the train car and from there onto the crate hanging from the crane.
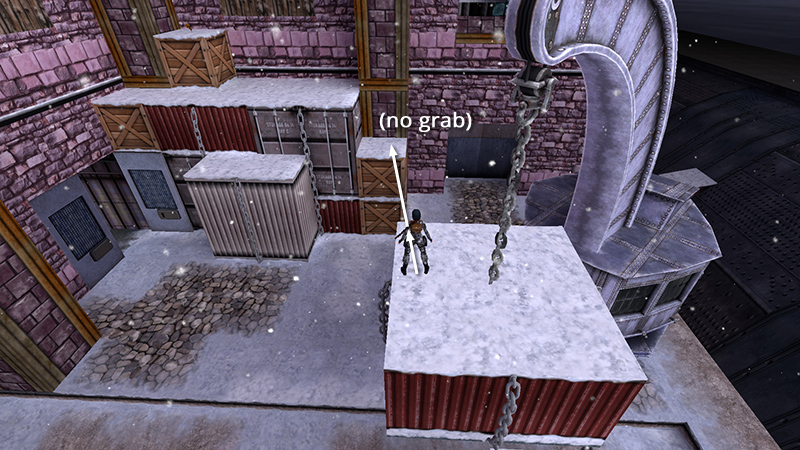
Walk to the far left corner of the dangling crate. Take a running jump onto the boxes stacked against the building. Do not press Action during this jump or Lara won't make it.
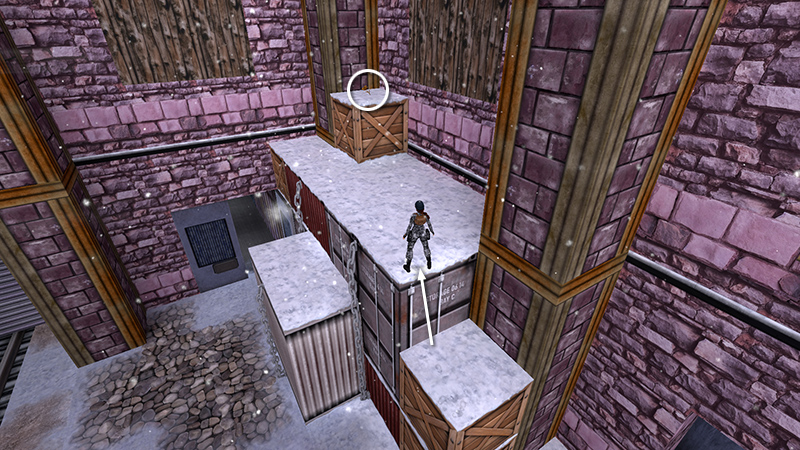
Climb to the top of the stack to get a golden rose (9) (90/239) (SECRET #2, 11/36).
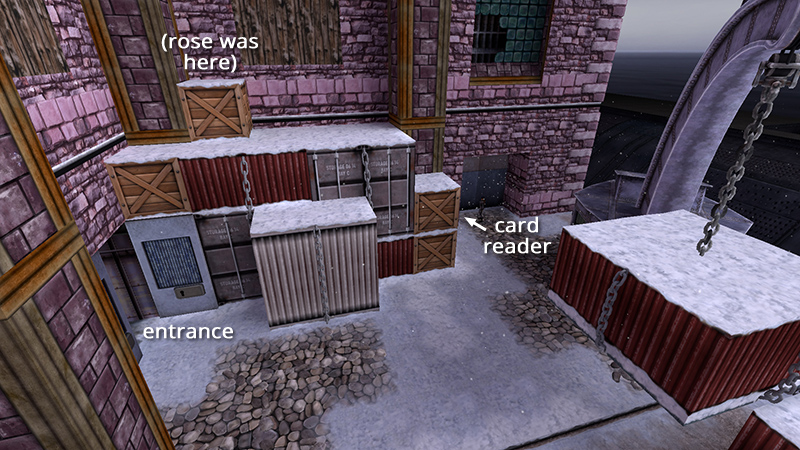
Climb down. Then use the SWIPE CARD in the card reader to open the door behind the crane.
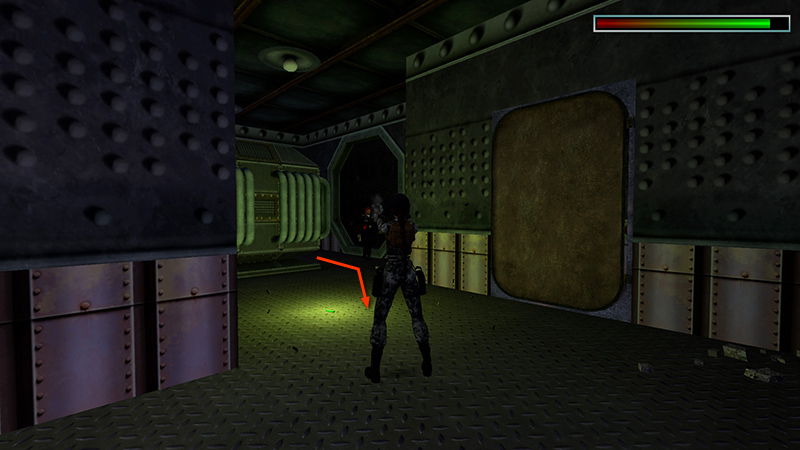
There's a soldier (6) (22/62) lurking inside on the left.

Kill him and take the SILVER KEY (10) (91/239) he drops.
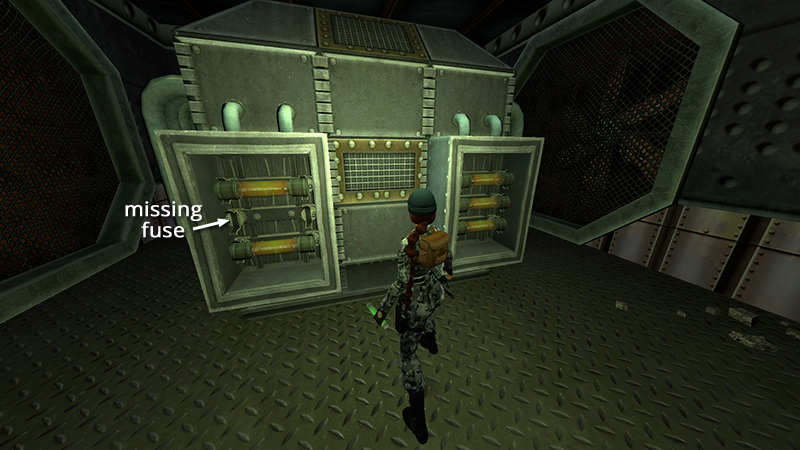
Examine the generator with the yellow fuses on the back. You'll see it's missing a fuse.
Go back outside and re-enter the main building.
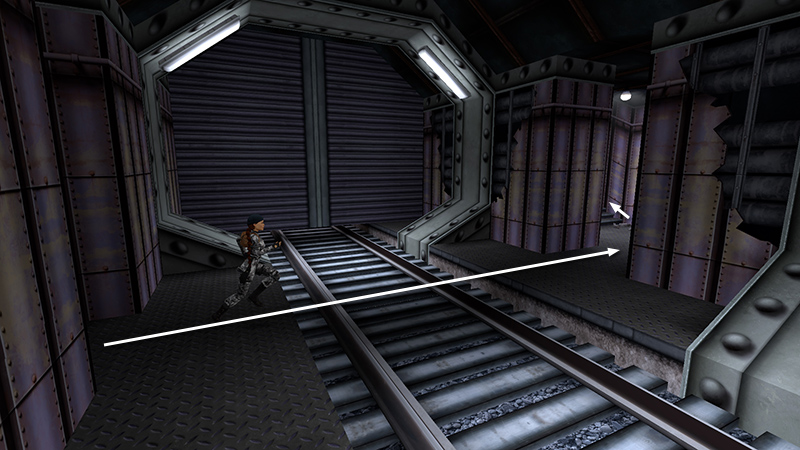
Follow the hallway, cross the TRACKS, and go through the door on the opposite side.
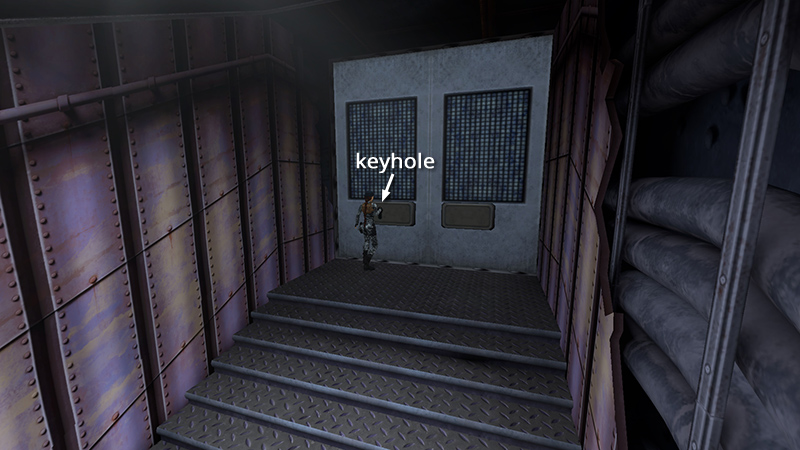
Climb the stairs to a locked door. Use the SILVER KEY to unlock it. Step outside.
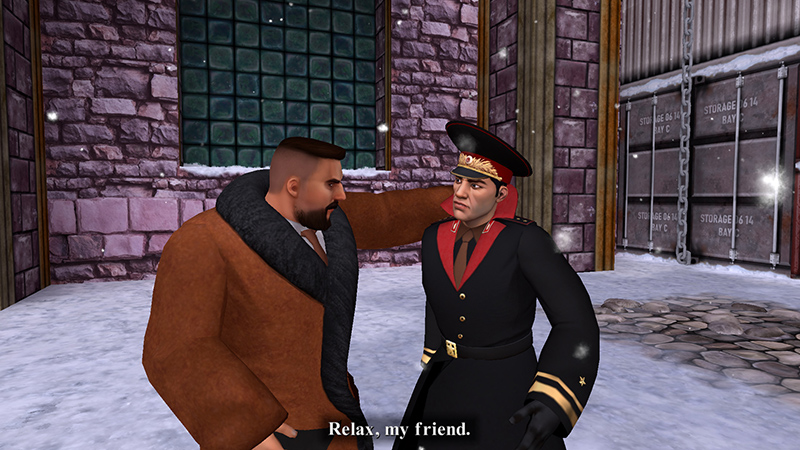
Cutscene: Lara overhears two men talking on the dock below. One, a Russian admiral, has apparently sold his services to the other, a crime boss. The admiral, Yarofev, orders his sailors to load the rest of the cargo and prepare for launch. Then both men board the waiting submarine.
[Previous | Next | Base Walkthrough]
DARK MODE: I plan to add optional dark mode for these pages, but my current priority is updating the walkthroughs. Meanwhile, may I suggest a reputable dark mode browser extension, such as Dark Reader? (Download only from trusted sites, like darkreader.org or your browser's web store.)
Walkthrough text and diagrams copyright © Stellalune (email ). Feel free to copy or print this walkthrough for personal use. By all means, share it with friends, but please include this credit line so people can send me their feedback. No part of this walkthrough may be reproduced on another site without permission.