The Base - Submarine Dock - Right Side - Laser Sight, Desert Eagle, and Secret #3
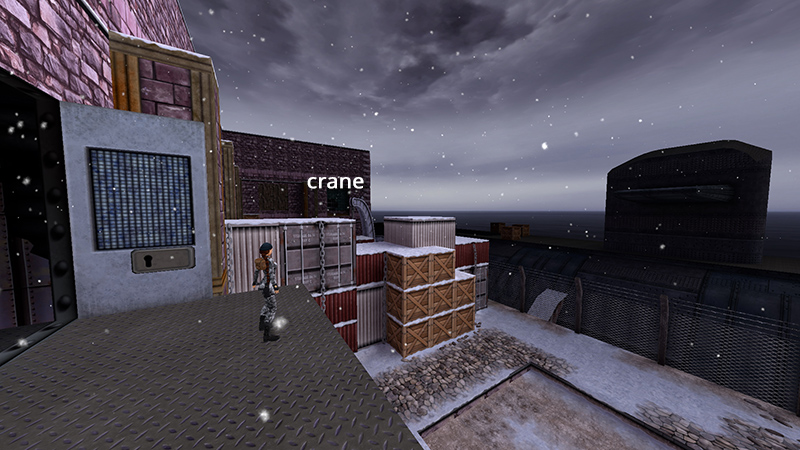
In the previous section you obtained a SILVER KEY and used it to open the door leading outside. You now emerge on a ledge overlooking the RIGHT SIDE of the SUBMARINE DOCK area. The area with the crane that you just came from is off to the left.
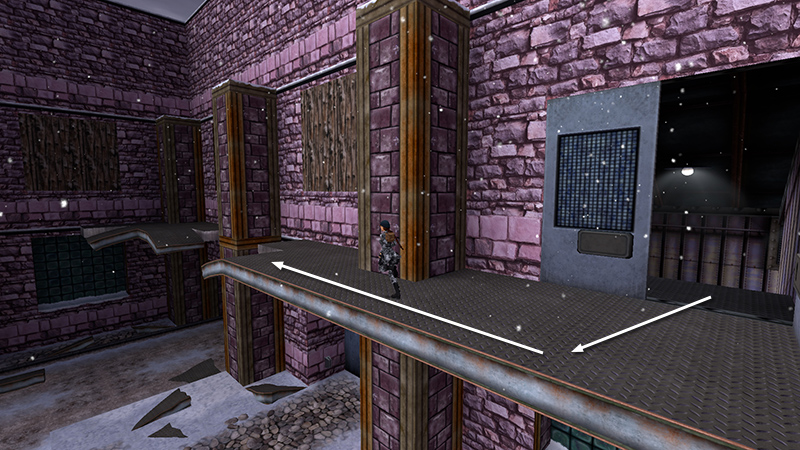
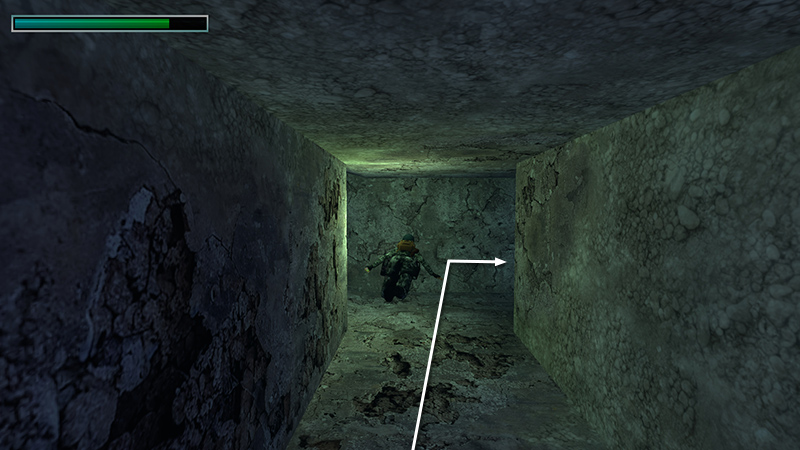
Go to the right end of the ledge, where it bends downward.
Take a running jump to grab the corner ledge; pull up.
NOTE: If you miss any of these jumps and fall to the ground, either reload and try again, or use the SWIPE CARD in the card reader to open the door below the first ledge. Pick up the walkthrough below, but don't forget to return for the LASER SIGHT afterwards.
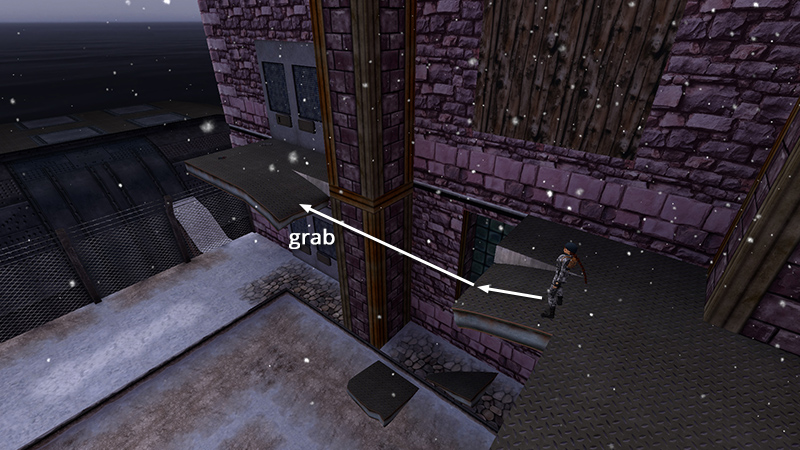
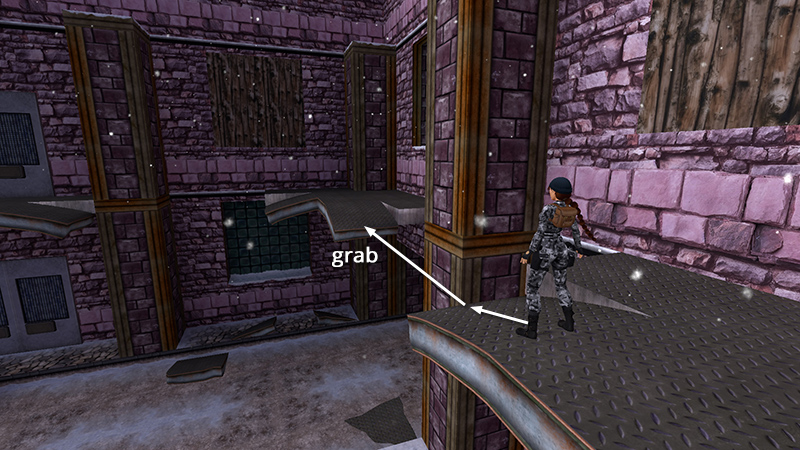
Continue to the left end of the corner ledge. Then take a running jump to grab the ledge nearest the submarine.
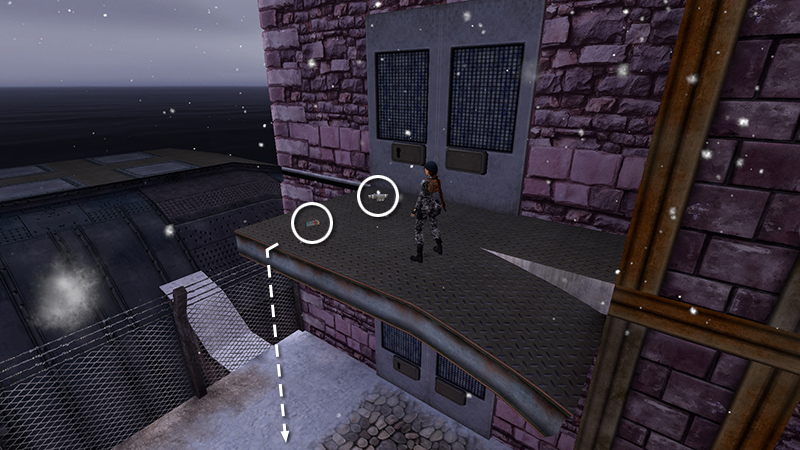
Pull up and take the LASER SIGHT (11) (92/239) and some Desert Eagle ammo (12) (93/239). Safety drop to the ground.
NOTE: It's possible to drop into the water near the submarine to get a glimpse of the next secret, but you can't reach it yet.
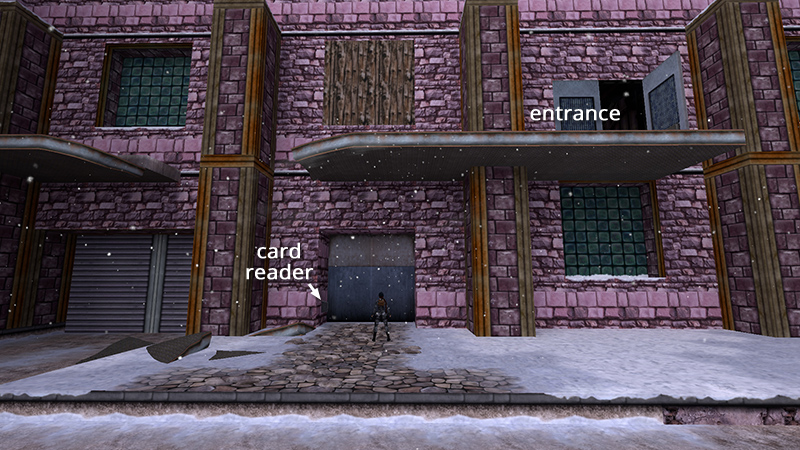
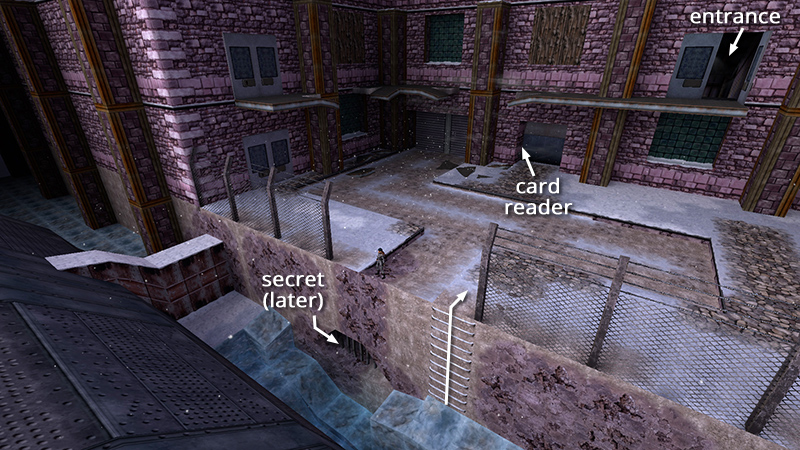
Use the SWIPE CARD to open the door below the ledge where you entered this area.

Follow the wide corridor to a LOCKER ROOM...
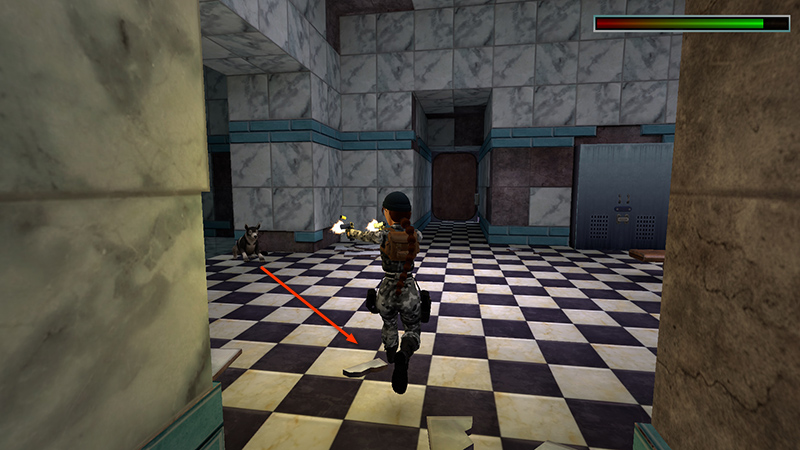
...and shoot another German shepherd (7) (23/62) lurking on the left as you enter the LOCKER ROOM.
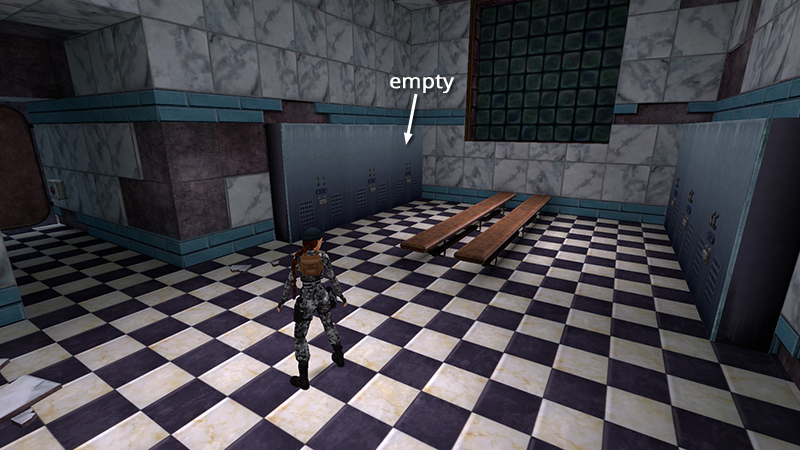
Search the lockers to find the DESERT EAGLE PISTOL, Desert Eagle clips, a small medipack, a FUSE, and Uzi clips (13-17) (94-98/239). (All of the lockers contain something, except the one in the far left corner when facing the group.)
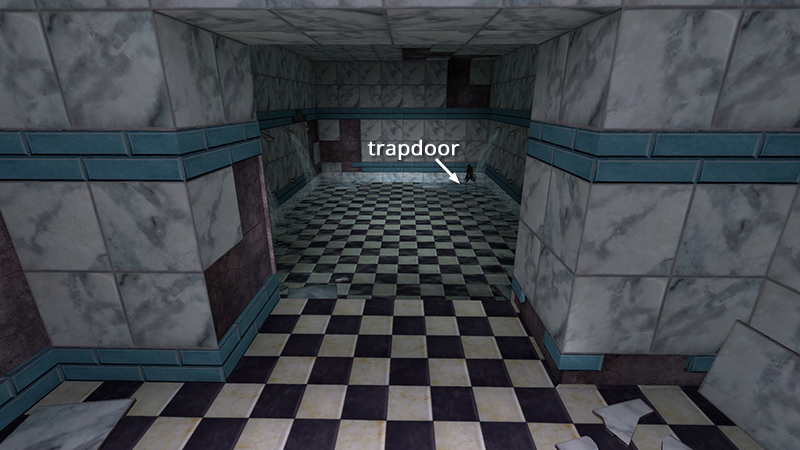
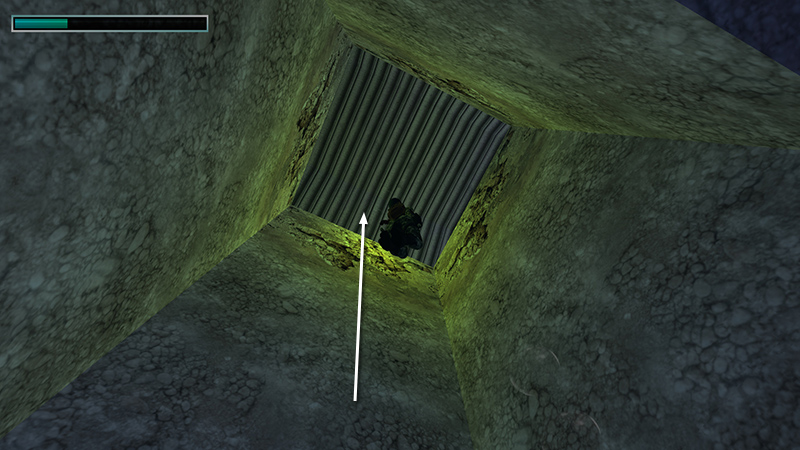
Find the trapdoor on the floor in the far right corner of the flooded showers. Stand Lara at the edge of the grate and press Action to open it.
Light a flare and quick-save if you like. Then swim down through the flooded passage.
Follow it downward, then on...
...to a T-intersection. Turn right here.
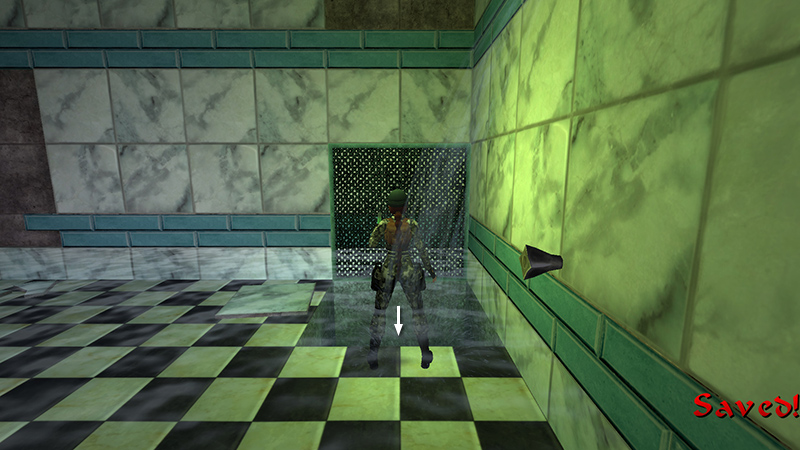
Follow the long tunnel through various twists and turns (but no forks or side passages). You may need to light another flare along the way. Eventually you'll surface...
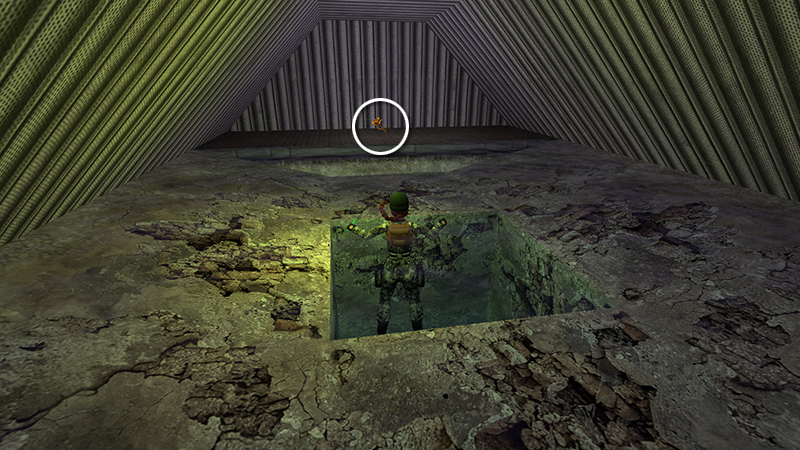
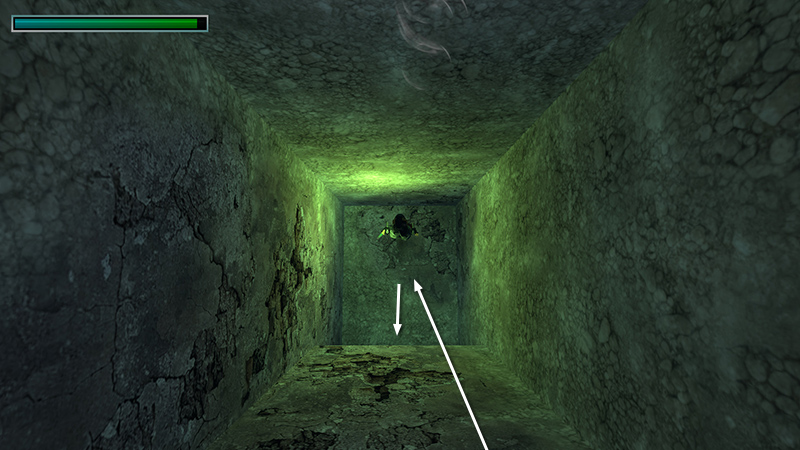
...in a small room where you'll find another golden rose (18) (99/239) (SECRET #3, 12/36).
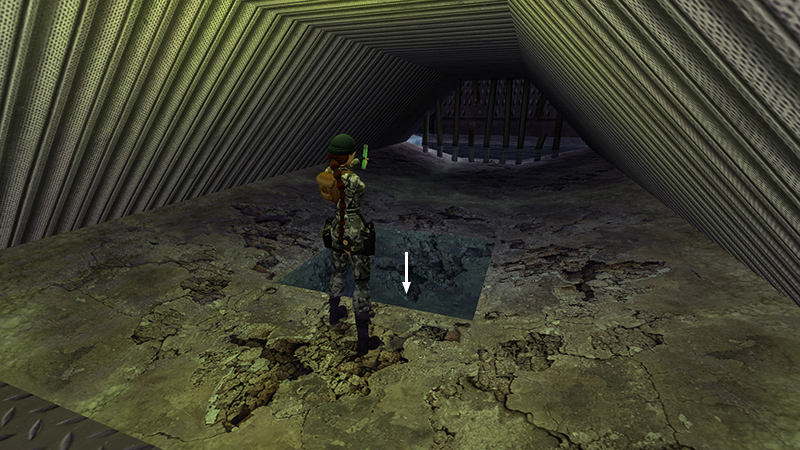
From here you can see the submarine through the bars. Swim back through the tunnel to the LOCKER ROOM.

Enter the short passageway on the left.
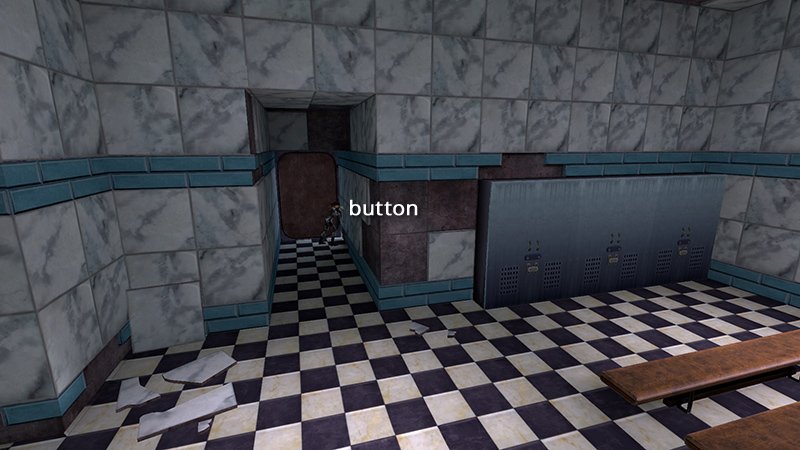
Press the button to open the door and go through to emerge near the end of the TRAIN TRACKS.
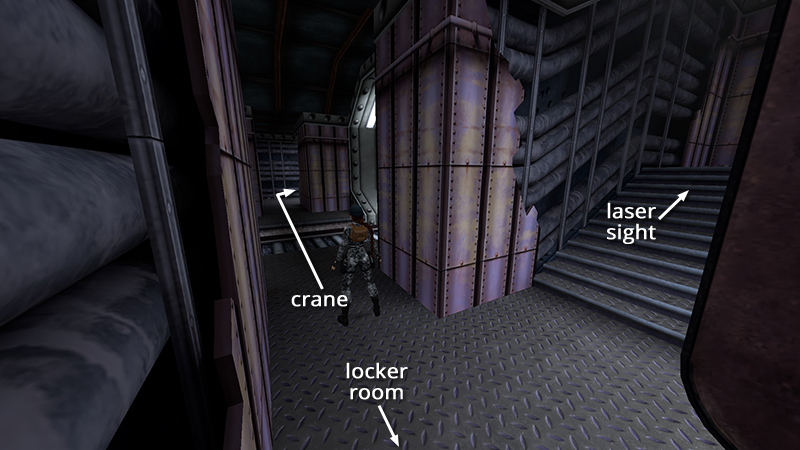
If you have everything, head straight across the tracks to the door leading to the outdoor area with the crane.
NOTE: If you missed the LASER SIGHT, DESERT EAGLE, and/or SECRET #3, go back for them now. Instead, of heading straight across the tracks, climb the stairs to the ledges overlooking the SUBMARINE DOCK - RIGHT SIDE. Follow the walkthrough above to get whatever you missed. Then return through the LOCKER ROOM to the TRACKS.
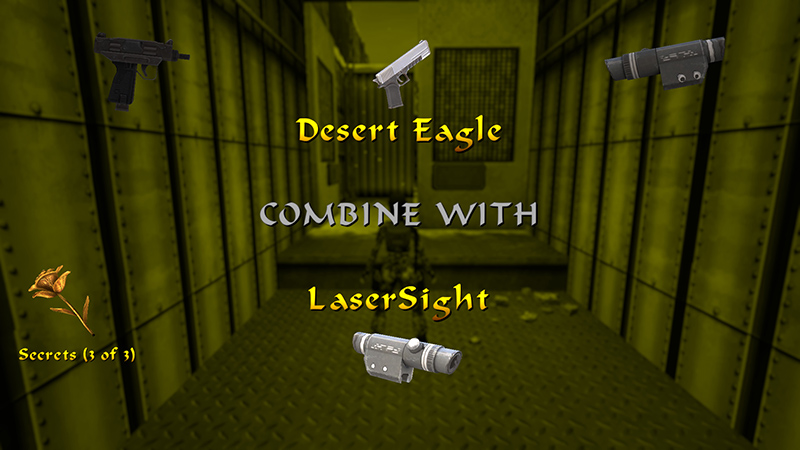
Before going outside take a moment to prepare. Combine the DESERT EAGLE with the LASER SIGHT and save the game.
[Previous | Next | Base Walkthrough]
DARK MODE: I plan to add optional dark mode for these pages, but my current priority is updating the walkthroughs. Meanwhile, may I suggest a reputable dark mode browser extension, such as Dark Reader? (Download only from trusted sites, like darkreader.org or your browser's web store.)
Walkthrough text and diagrams copyright © Stellalune (email ). Feel free to copy or print this walkthrough for personal use. By all means, share it with friends, but please include this credit line so people can send me their feedback. No part of this walkthrough may be reproduced on another site without permission.