Boaz Returns - Defeating Boaz's Second Form Using the Boran X
This boss fight has two main parts: giant armored-beetle Boaz, covered in the previous section, and flying humanoid Boaz. In addition to the Boran X strategy described here, tips for defeating her with the Chirugai are on a separate page.
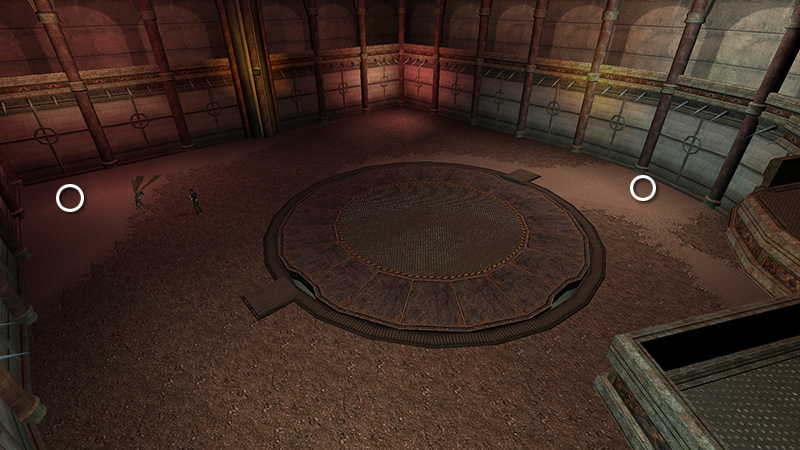
Either before the mid-level cutscene starts or immediately afterward, open your inventory. Use an antidote and heal if necessary. Then, if you're running low on bullets and haven't already gotten the 2 ammo pickups described in the main walkthrough, sprint for them now. You may take damage in the process, but if you keep moving, it should be minimal.
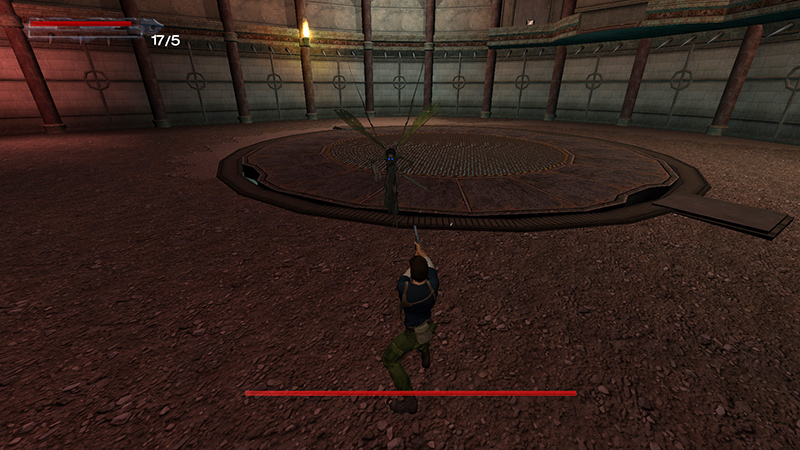
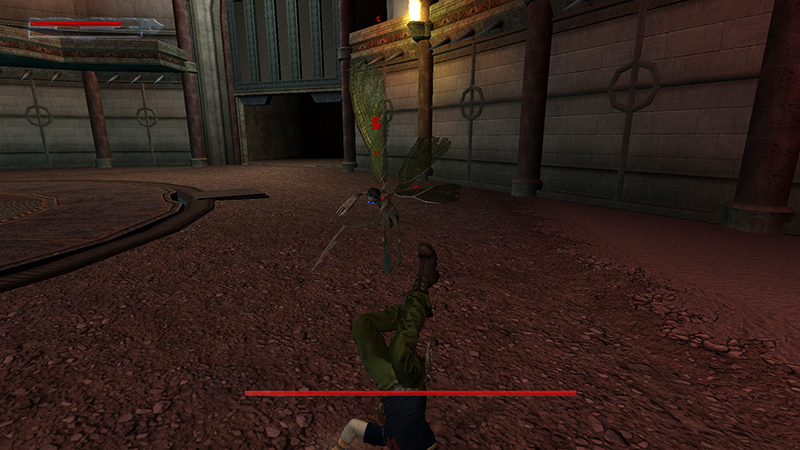
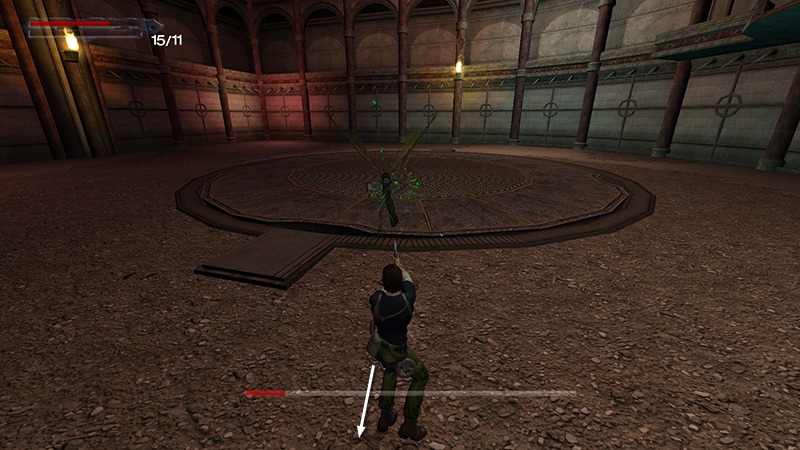
Draw the Boran X and Kurtis should aim at winged Boaz (2). Fire continuously...
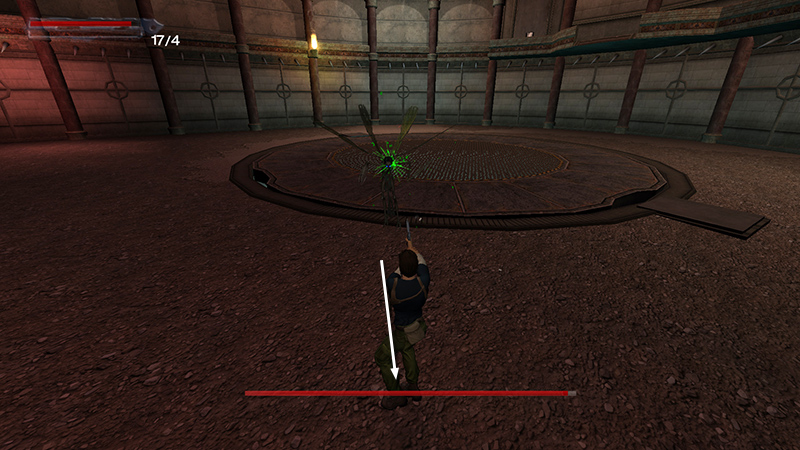
...while backing away from her. Again, you'll see green splatter, and her health bar will diminish when you're doing damage. Try not to let her back you up against a wall.
Run/jump out into the open if this happens.
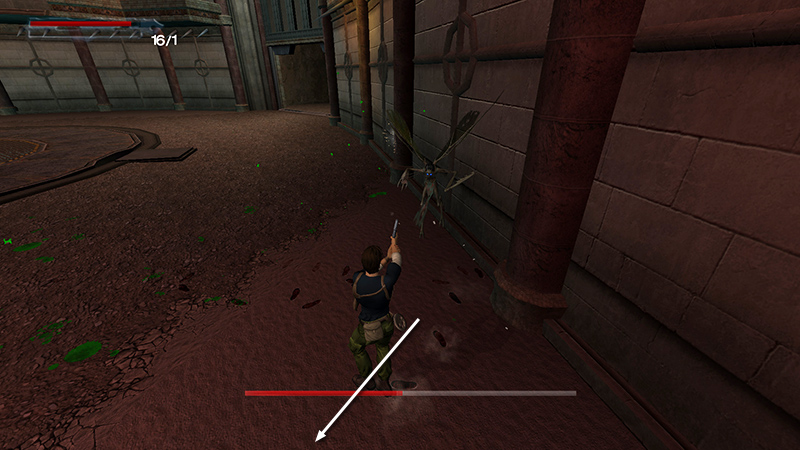
At first, she'll hover and occasionally swoop in to claw at Kurtis. If he's standing still, this will knock him down.
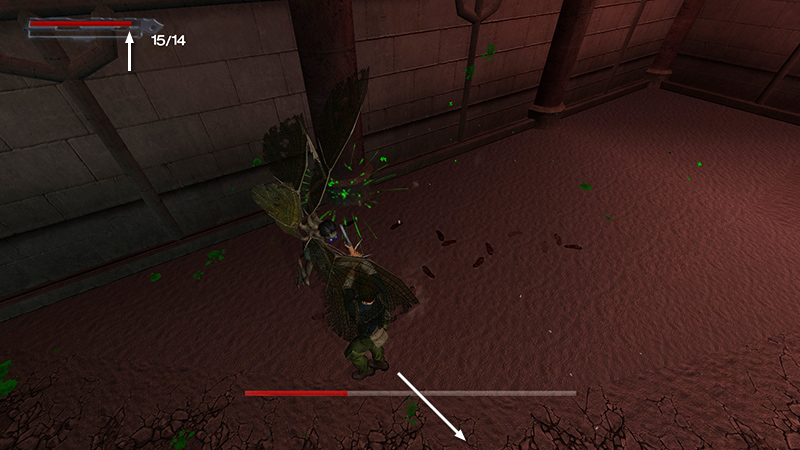
But if you just keep firing and moving backwards, she should only do a little bit of damage. Pause and heal if necessary.
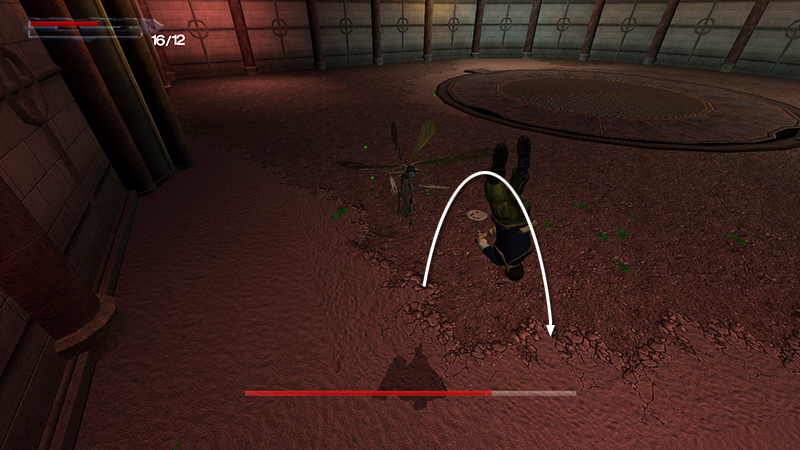
If she gets too close, back flip or side flip away. Then continue firing.
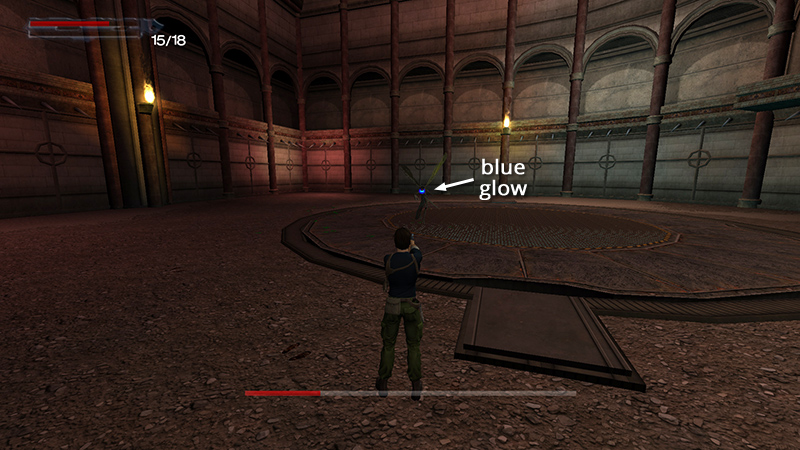
When Boaz moves off, and the blue glow in her eyes intensifies, she's powering up a lightning bolt attack. Stop shooting, since you can't damage her during this phase.
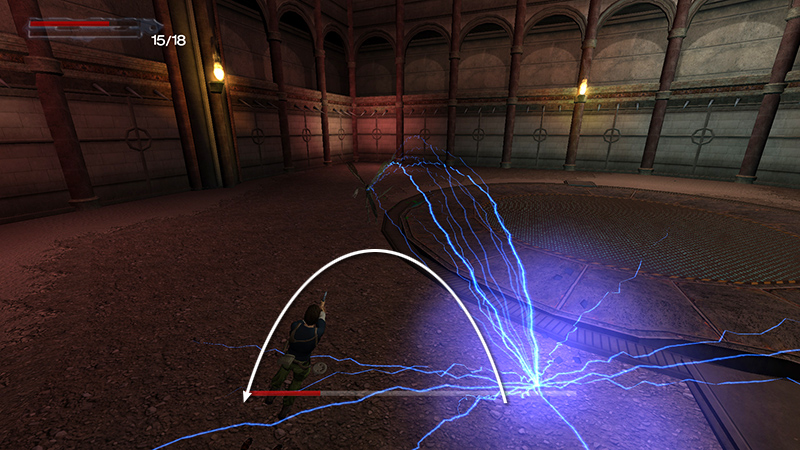
Side flip out of the way.

Then continue flipping left and right...
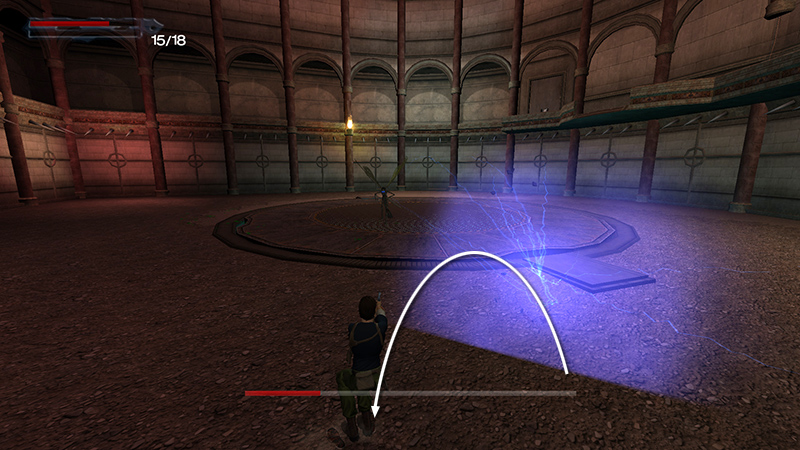
...to avoid being hit by the lightning bolts.
When she finishes the electrical attacks, resume firing and backing away from her. It shouldn't take too much longer to finish her off.
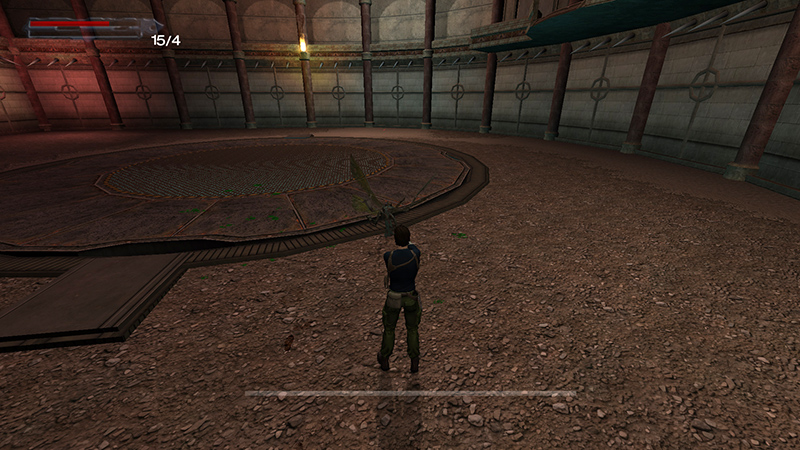
When her health bar reaches zero, she drops like a fly. It may take a moment for the next cutscene to begin, but you don't need to do anything else.
DARK MODE: I plan to add optional dark mode for these pages, but my current priority is updating the walkthroughs. Meanwhile, may I suggest a reputable dark mode browser extension, such as Dark Reader? (Download only from trusted sites, like darkreader.org or your browser's official add-on/extension site.)
Walkthrough text and diagrams copyright © Stellalune (email ). Feel free to copy or print this walkthrough for personal use. By all means, share it with friends, but please include this credit line so people can send me their feedback. No part of this walkthrough may be reproduced on another site without permission.